Tutorial
Introduction
In this section we show you how a typical workflow in the development of a MIRO application can look like - from the GAMS or GAMSPy model to the initialization and customization of a MIRO application up to its deployment. This tutorial is a quick guide to the most important aspects of the MIRO application development. The individual aspects are explained in more detail in corresponding linked chapters ().
The easiest way to develop a MIRO application from scratch based on a GAMS model is to use GAMS Studio. It offers built-in functionality of the most important interactions with MIRO. Learn more about this here. If you want to develop a MIRO application for a GAMSPy model, communication with MIRO takes place on the command line. More on this in the following chapters.
Model adjustments
Ideally, you start off with a fully developed GAMS
model or a model in which no major changes are made
to the symbols that will later be visible in MIRO
(of course, you can also start from scratch and
adjust your symbols as you go). In our example we
use the classic
Trnsport model
from the GAMS model library. The only thing we have
to do in the model is to tell MIRO which symbols we
want to see in the application. We do this by
wrapping the corresponding
symbol declarations with the tags
$onExternalInput
/
$offExternalInput
for input data and
$onExternalOutput
/
$offExternalOutput
for output data. These tags can be used multiple
times within a model. Symbols which are not tagged
won’t be visible in MIRO.
Set
         i 'canning plants' / seattle,  san-diego /
         j 'markets'        / new-york, chicago, topeka /;

      $onExternalInput
      Parameter
         a(i) 'capacity of plant i in cases'
              / seattle    350
                san-diego  600 /

         b(j) 'demand at market j in cases'
              / new-york   325
                chicago    300
                topeka     275 /;

      Table d(i,j) 'distance in thousands of miles'
                    new-york  chicago  topeka
         seattle         2.5      1.7     1.8
         san-diego       2.5      1.8     1.4;

      Scalar f 'freight in dollars per case per thousand miles' / 90 /;
      $offExternalInput

      Parameter c(i,j) 'transport cost in thousands of dollars per case';
      c(i,j) = f*d(i,j)/1000;

      $onExternalOutput
      Variable
         x(i,j) 'shipment quantities in cases'
         z      'total transportation costs in thousands of dollars';
      $offExternalOutput

      Positive Variable x;

      Equation
         cost      'define objective function'
         supply(i) 'observe supply limit at plant i'
         demand(j) 'satisfy demand at market j';

      cost..      z =e= sum((i,j), c(i,j)*x(i,j));

      supply(i).. sum(j, x(i,j)) =l= a(i);

      demand(j).. sum(i, x(i,j)) =g= b(j);

      Model transport / all /;

      solve transport using lp minimizing z;

      display x.l, x.m;
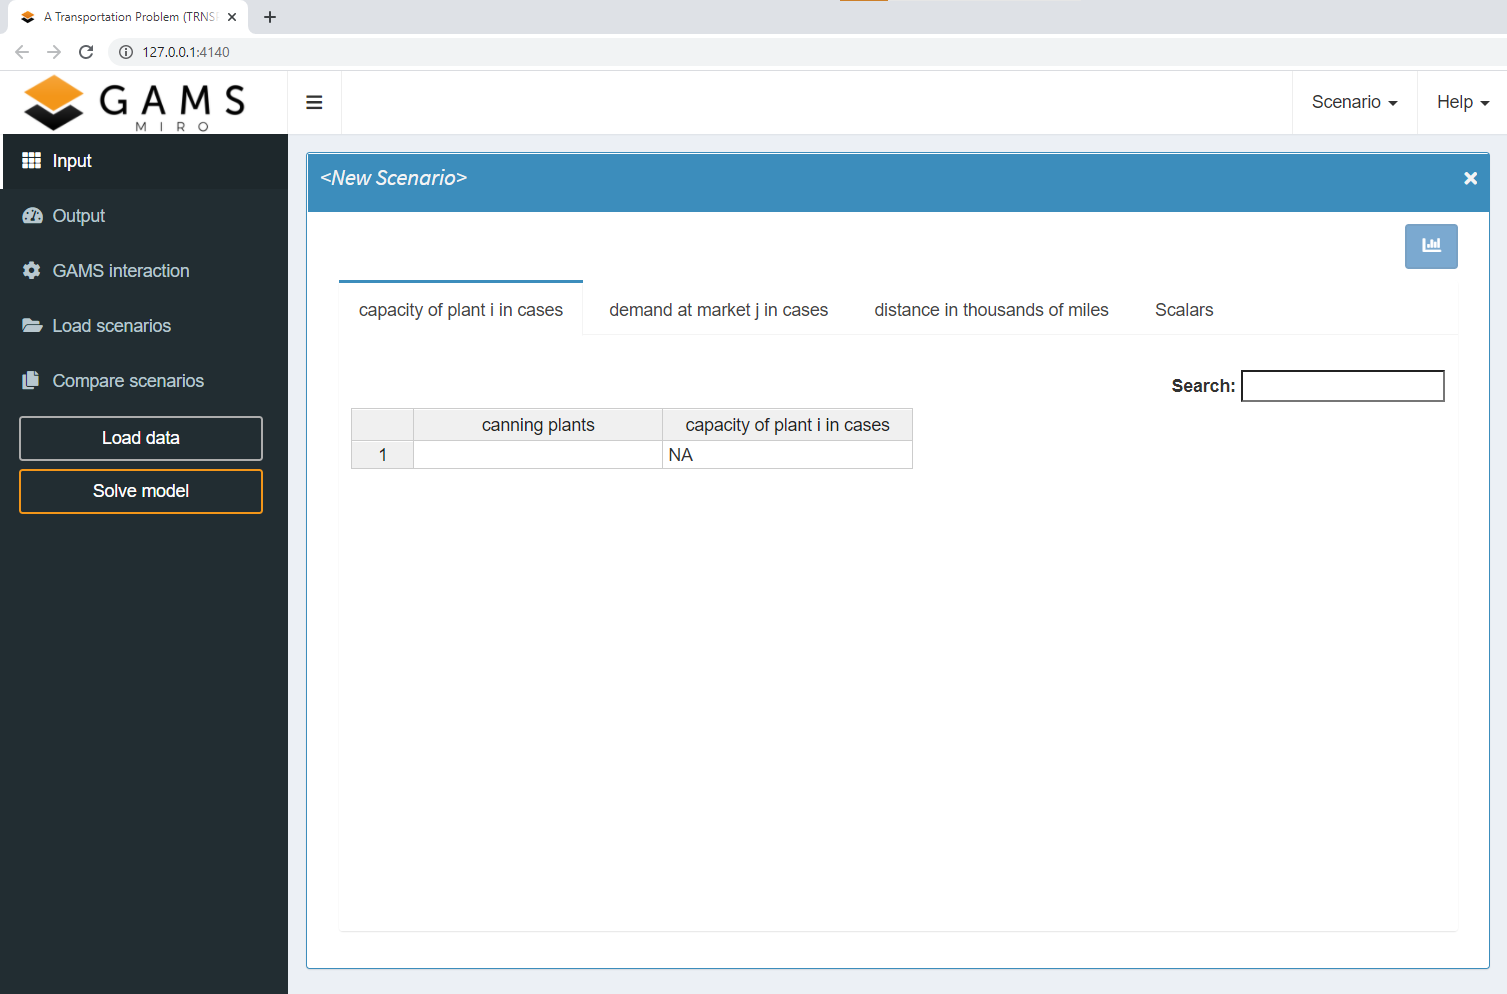
After starting MIRO for the first time, all the selected symbols are available in tabular form. With the basic configuration you can load data, modify it from within the interface and start or stop a GAMS job. You also have access to the log and listing (lst) files of GAMS as well as all files generated during the run. When the model has finished the execution phase successfully, the results can be examined. Since MIRO is connected to a database, you can store results there, fetch previously saved results and modify them or use them to compare with other scenarios.
Ideally, you start off with a fully developed GAMSPy model or a model in which no major changes are made to the symbols that will later be visible in MIRO (of course, you can also start from scratch and adjust your symbols as you go). In our example we use the classic Transportation problem. All you need to do to use your GAMSPy models in GAMS MIRO is to annotate your MIRO input and output symbols. For example, the following code snippet declares symbol d as a MIRO input and symbol x as a MIRO output:
...
...
data preparation
...
...

a = Parameter(m, name="a", domain=[i], records=capacities)
b = Parameter(m, name="b", domain=[j], records=demands)
d = Parameter(m, name="d", domain=[i, j], records=distances, is_miro_input=True)

x = Variable(m, name="x", domain=[i, j], type="Positive", is_miro_output=True)
...
...
model.solve()
Symbols which are not annotated won't be visible in MIRO.
After you mark your miro symbols with is_miro_input and is_miro_output, you can run MIRO with the following GAMSPy command-line utility:
After starting MIRO for the first time, all the selected symbols are available in tabular form. With the basic configuration you can load data, modify it from within the interface and start or stop a GAMS job. You also have access to the log file and all files generated during the run. When the model has finished, the results can be examined. Since MIRO is connected to a database, you can store results there, fetch previously saved results and modify them or use them to compare with other scenarios.
Configuration
Now the MIRO app can be configured. This includes
-
General settings:
Appearance and general behavior of the app. -
Symbols:
Symbol naming, ordering, grouping, etc. -
Tables:
Global table and individual output table settings. -
Input Widgets:
Input widgets can be used to communicate input data with GAMS/GAMSPy. Examples of such widgets include: tables, sliders, dropdown menus, date selectors or checkboxes. -
Graphs:
GAMS/GAMSPy symbols can be visualized as graphs. A lot of plotting types are available and only need to be configured, i.e. adapted to your model-specific data. To create graphics that are perfectly tailored to your data and not available in MIRO yet, you can also write your own custom renderer. -
Scenario Analysis:
Run custom analysis scripts.
In the following example a map was configured as a graphic for a symbol:

Deployment
When the MIRO app is completely configured, i.e. all graphics have been created, options have been set and adjustments have been made, the app can be deployed. Deploying a MIRO application is the process of exporting and installing your app so that it can be easily shared and used in the daily business of your end users. No further changes to the model or the configuration can be made once it is deployed.
Deploying MIRO applications can be done directly from within GAMS Studio. We need to do two things: clarify which files belong to the GAMS model and then package all these files together with the app configuration into an app bundle. The result is a single .miroapp file which can be sent to the end user(s) of the application.
To deploy a GAMSPy MIRO app, we need to do two things: clarify which files belong to the GAMS model and then package all these files together with the app configuration into an app bundle. For the latter, run the GAMSPy command-line utility with --mode=deploy:
The result is a single .miroapp file which can be sent to the end user(s) of the application.
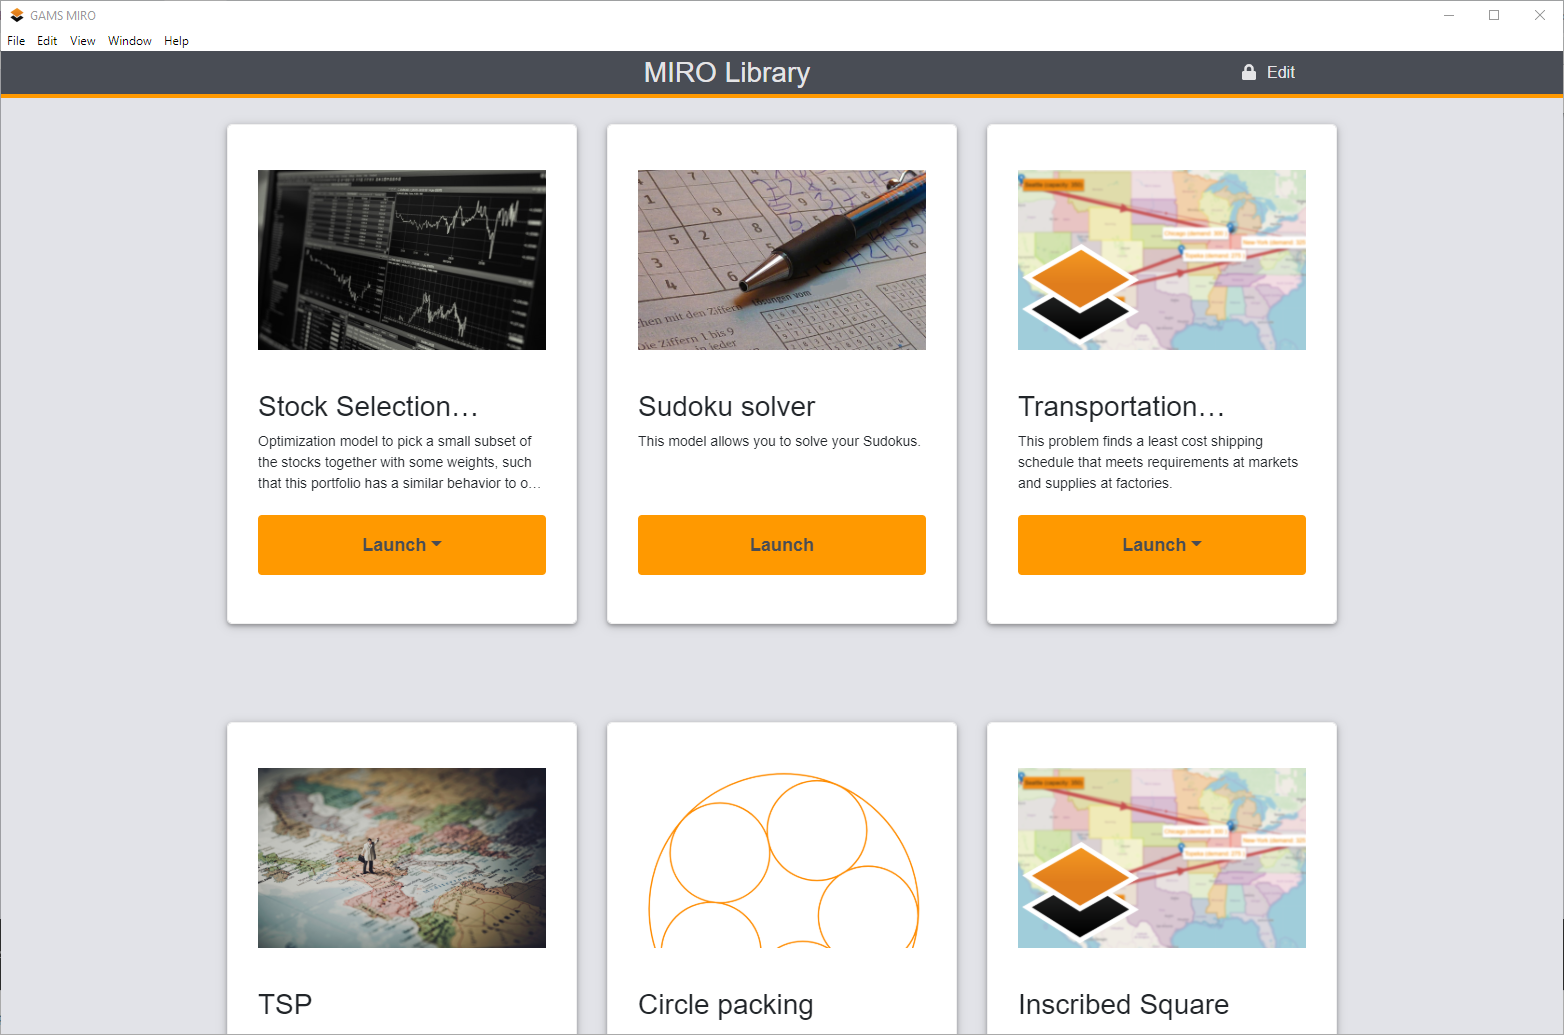
If the app is to be used on a local computer, it is simply added to the personal MIRO Desktop library. There, all deployed MIRO apps can be accessed and started.
So much for what a typical workflow might look like. Besides the local setup shown here, MIRO also offers the possibility to solve GAMS jobs in the cloud or even host the applications there and collaborate with your colleagues in the cloud. You can find out more about this here.